07775 853 348

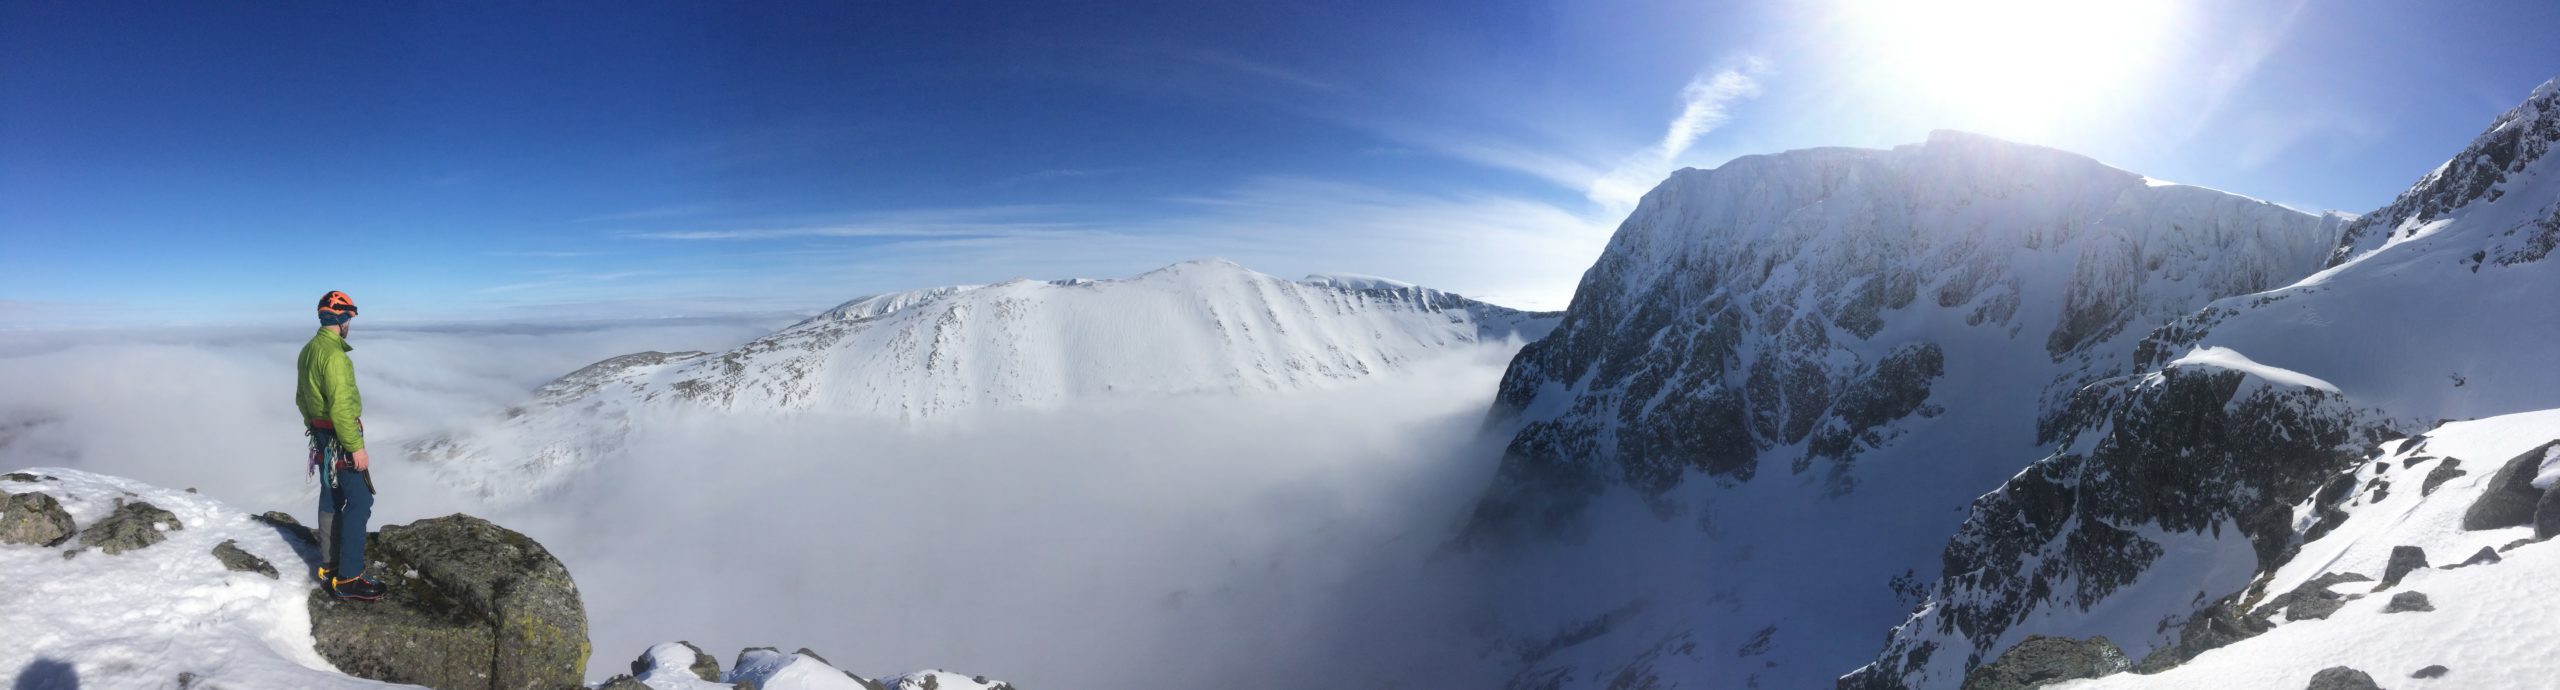
How to climb Tower Ridge in winter? One of the more if not, most infamous Alpine style routes in Britain. First climbed in 1894, it is 600m long and an incredible outing, not to be underestimated. Attracting a lot of climbers who like to measure their ability on the ridge. The overall grade for Tower Ridge in winter is IV technical 3, but this is certainly dependant on conditions. I have certainly climbed it in leaner conditions, where the climbing felt more like technical 4. So be prepared to try and be a little more creative in your climbing or pull a little harder.
The route takes you up to the highest summit in Britain, namely Ben Nevis. With several crux pitches, the infamous Eastern traverse and the Tower Gap. Although condition dependant, and certainly can add 2 more crux pitches to the when conditions are a little leaner, or covered in verglas. Route finding is obvious, but if you are a newbie to Tower Ridge, and its covered in knee deep snow, without footsteps to follow, route finding can be a little trickier in a few places.
To climb Tower Ridge in winter, apart from technical ability, efficiency is key. Moving faster/together on easier terrain. And pitching the more technical bits helps with efficiency and your time out on the route. Again, this depends on your ability, conditions, weather amongst a few variables. Thinner conditions may mean you pitch more, as with higher winds. All of these need to be taken into consideration. Also, efficiency is key. Meaning if you like faffing (= the act of unnecessary or inefficient organisation of equipment, systems or rucksack, etc…) and add 10-15 minutes to every time you switch from moving together to pitching, vias versa, or at the top of each pitch. You could easily add a few hours to your day. That may be the difference of topping out in daylight or the dark, or even be benighted on the ridge.
Start early, be efficient in your systems, keep moving and think ahead of what is coming up, so you are prepared when you get there.

Boots – B2 or B3 boots
Crampons – a 12-point crampon with horizontal front points suffices, more aggressive front points can be used
Axes – This is condition and personal ability dependant. Personally, I have climbed Tower Ridge using a mountaineering axe and a slightly more technical axe. But have also opted for 2 more technical axes when conditions have been a little thinner, and been glad to have had them.
Rack – A set of hexes, medium to large wires, a selection of slings (some 120cm, some 240cm), a selection of locking carabiners (some small, a few HMS), 5 alpine quickdraws (extendable), and of course a friction-type belay device with carabiner.
Rope – 50 – 60m rope (I would personally use a single rope, some people use a half rope and double it up if needed).
As Tower Ridge is a long route, and you want to give yourself the best chance of success. Make your life as easy as possible, and get to the starting gully for around sunrise. This gives you the greatest amount of daylight on the climb itself, very much an Alpine style tactic.
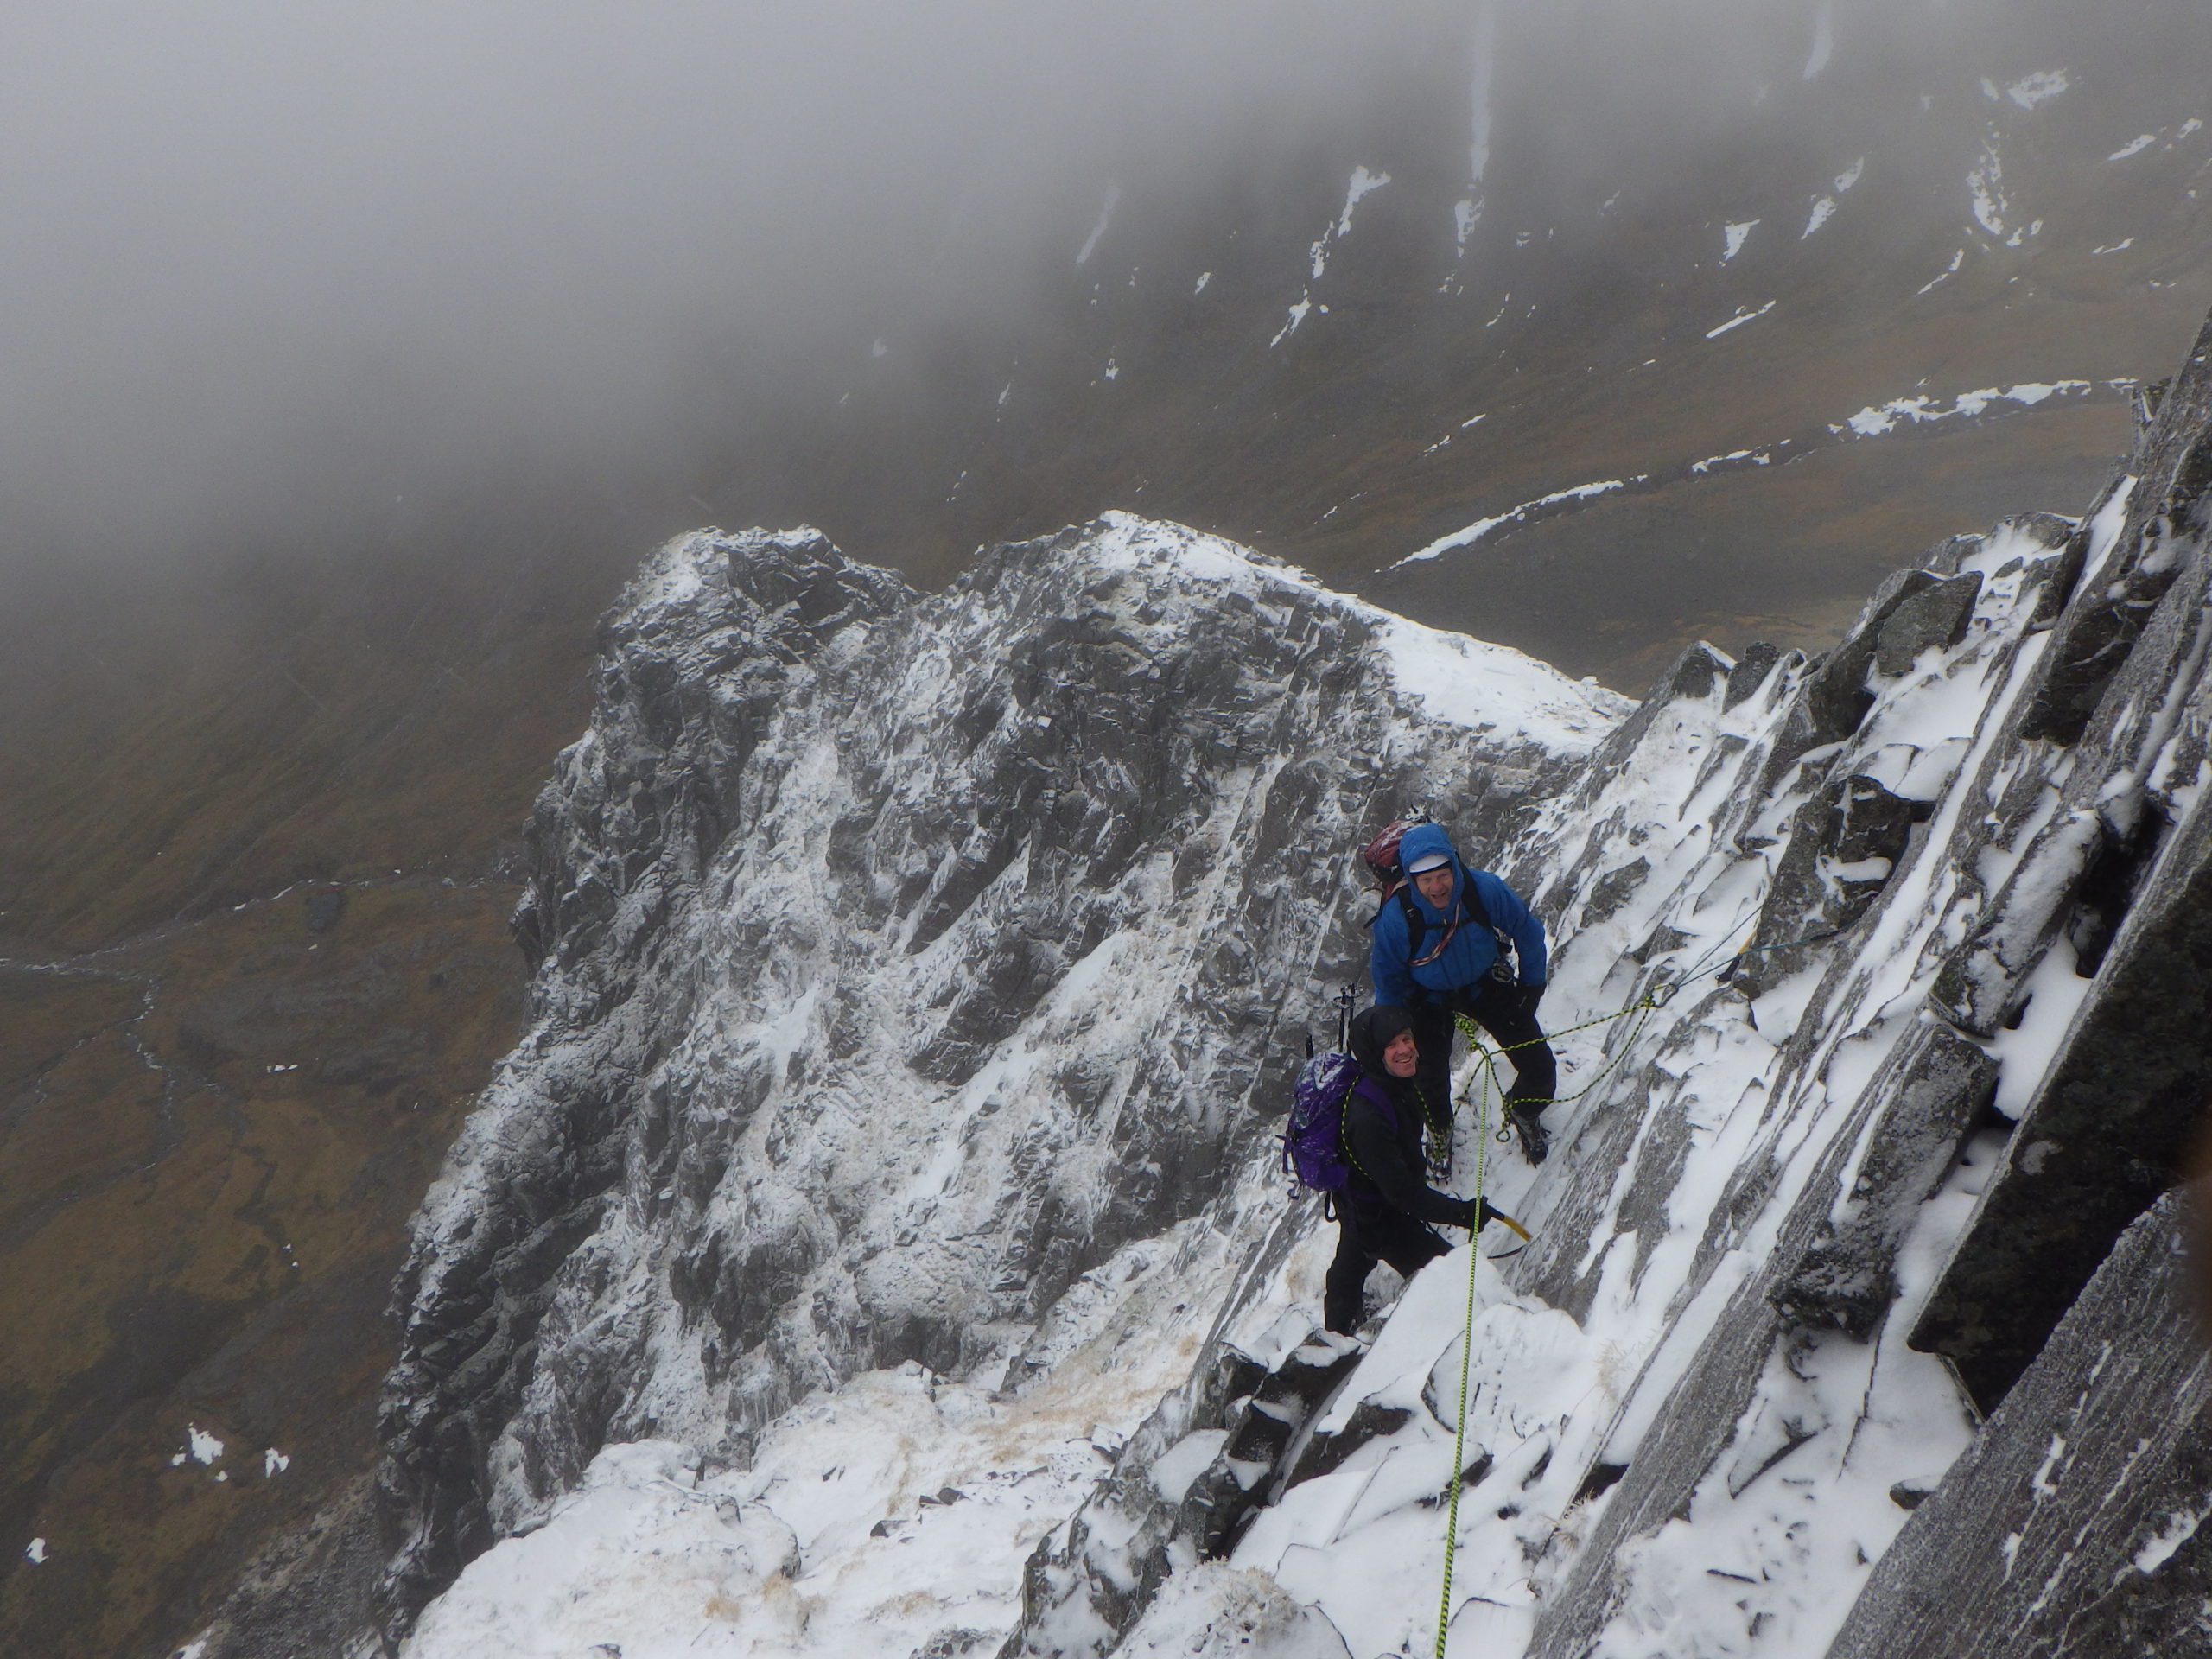
The way to climb it, to be most efficient is having the ability to go from pitching to moving together, and vice versa. If you were to pitch the whole climb, it may take you several days to climb. So, understanding how to go from pitching to moving together safely will save you lots of time, and keep you warmer on those colder days. I must stipulate, if you are moving together, and are therefore tied together, you have to trust each other’s ability on the terrain. As, if one of you falls, you will both potentially go. The terrain which you can move together over, is fairly easy, but has high consequences if something does go wrong. So you need to be secure in your ability to move over this type of terrain, physically, and also mentally.
Although the Tower Ridge is graded at IV, 3 make sure it is not at the limit of your ability. It is not to be underestimated. As the climbing can be a little tricky at times depending on conditions. Lots of teams have been picked off by Mountain Rescue from higher up on the route, realising they don’t have the skills physically or mentally to tackle the route. Don’t become a statistic or put pressure on the Mountain Rescue services.
Some weather conditions can have a dramatic effect on Tower ridge, and can make a pleasant day turn into a feat of survival. You definitely do not want high winds when climbing the ridge, as there are quite a lot of areas where you will be exposed. A big gust of wind, can easily take you off your feet. With some of the areas on the ridge lacking protection opportunities, this could end up in a not-so-desirable situation.
Heavy snow fall, or deep snow on the approach, besides from the potential avalanche hazards, it can make the walk-in traitorous. The usual approach taking anywhere from 1-2 hours. With knee to hip deep snow the approach alone can take anywhere from 2-4 hours. That’s the approach alone, without taking into account the climb itself and the descent. Lots of fresh snow on the ridge itself, can bury all of the usual anchor and protection points, adding time by digging around for them.
Verglas, which is a thin coating of ice, which comes from the usual Scottish weather conditions of freeze-thaw cycles. This thin coating of ice over the rocks can make progress slower at times. It can make placing protection a little trickier, as well as movement over these sections.
Setting off from the North Face carpark, it is around a 5km walk to the CIC hut. With most of the ascent to the CIC in the first 1km path through the woods, a great way to warm up quickly on a cold day. From the CIC hut you walk South East, around the Douglas Boulder into Observatory Gully area. From here its only a short distance up to the snow slope (on your right) which gives you access to the start of Tower Ridge. If the snow conditions are a little thinner at times, you are able to access the snow slope from higher up. You will need to walk a little further up into Observatory Gully area, and follow the easy angled and broken ground to the snow gully.
Just be aware that in certain snow conditions the approach slopes to the start of Tower Ridge can be avalanche prone. So, check the SAIS and weather forecasts (add in links) to make the correct judgement for the approach.
Once at the top of the gully which takes you to the Douglas gap, here is where the route starts. Starting with a chimney pitch of climbing, lots of protection opportunities, and a great place to build an anchor to bring up your second atop. From here slightly easier terrain takes you to some steeper rocks overlooking Vanishing Gully. Move out right, before cutting back left, and pitching up to easier angled terrain higher up. Which will take you to below the Little Tower. Some pitched climbing will take you atop the Little Tower, then an easier slope up to the Great Tower.
If, however the rock is verglassed, the climbing on the Little Tower can be tricky and exposed. There is an alternative route to take to the Great Tower. Again, this is dependent on the amount of snow and the avalanche conditions out on the hill. If conditions are safe, you can miss out the Little Tower, and follow a steady inclining snow slope to the Great Tower.
Just before you arrive at the Little Tower, there is a small gully on your right (North Western side). Which when you descend, gives you access to a snow slope which takes you up to the Great Tower. There is little to no protection here, so make sure you and your team are comfortable on steep snow slopes, with great exposure.
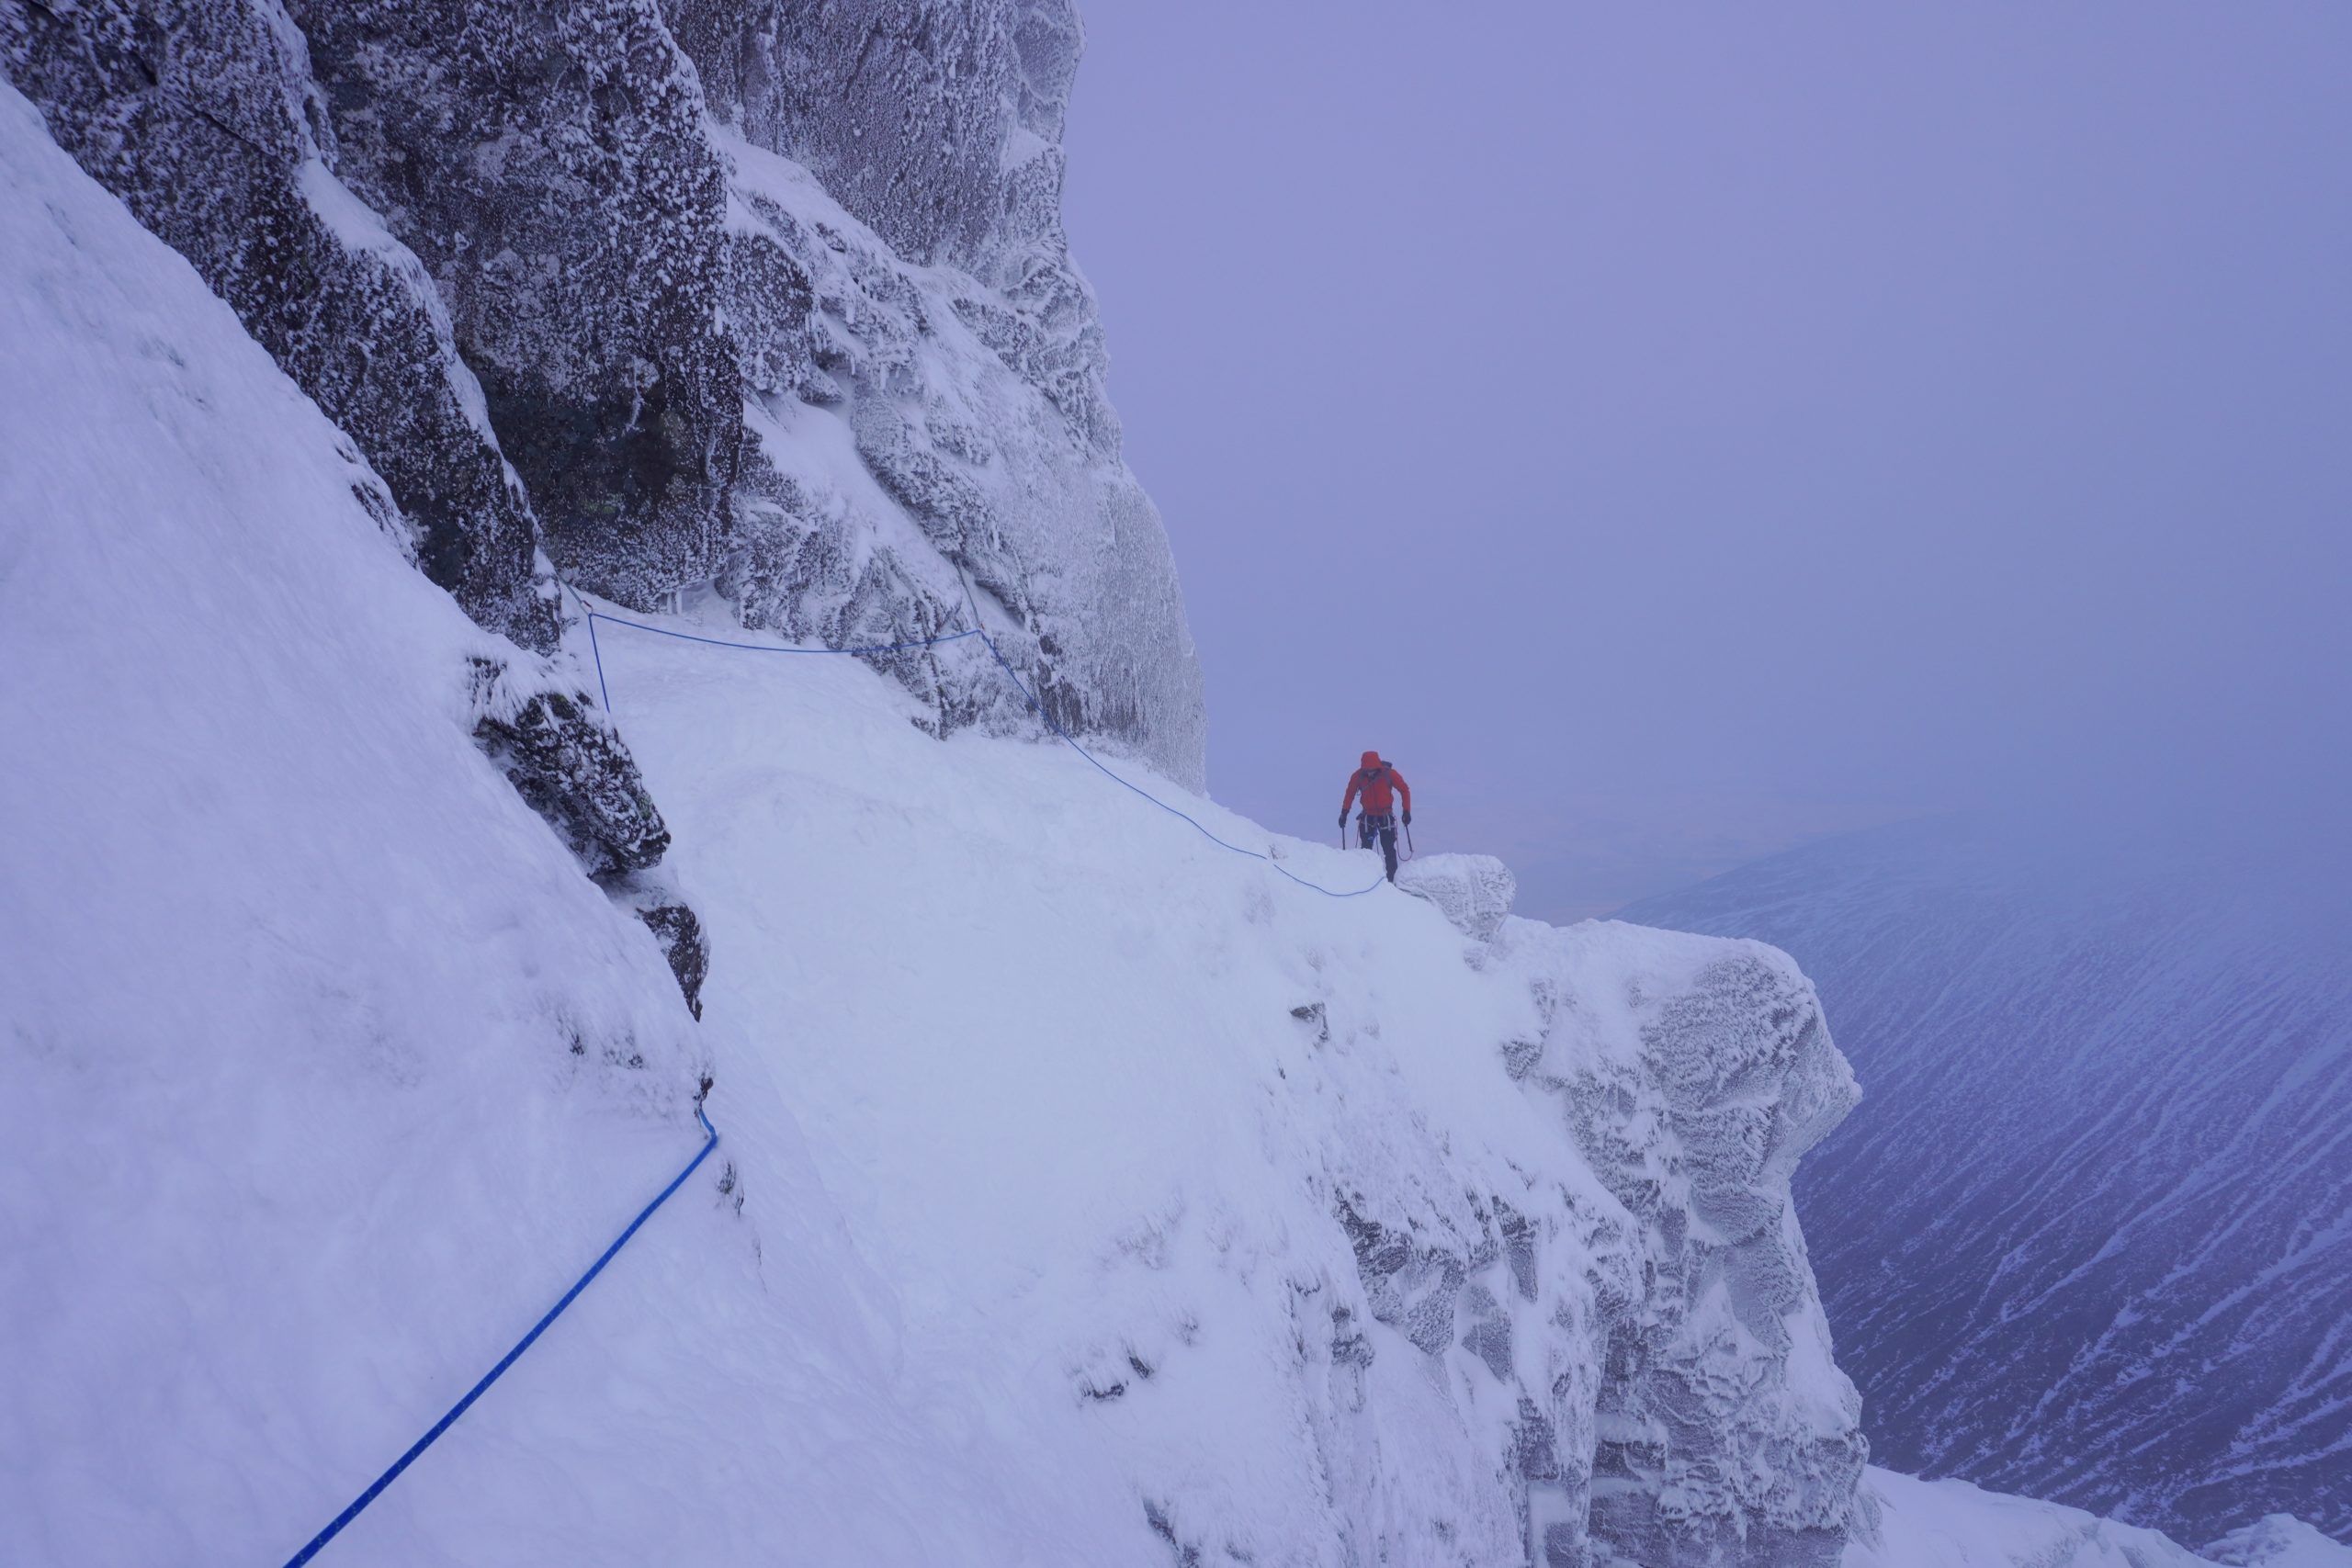
When you arrive the Great Tower, you have several options. The Eastern traverse, which is an exposed traverse around the left side of the Tower. With an in-situ piton as you first piece of protection, and lots of air beneath you. A very cool and exposed traverse, where lots of digging for protection may be required. A downward sloping traverse to beneath a huge fallen block chimney. Where another pitch takes you to just underneath one of the route’s cruxes. Which then gives you access to the top of the Great Tower.
If, however, you are feeling more adventurous, or are trying to bypass a slower group, this can be done to the right of the Great Tower. The Western Traverse (IV, 4 – 70m) a slightly trickier section of climb. This is the original route the first ascensionists took, not for the fainthearted.
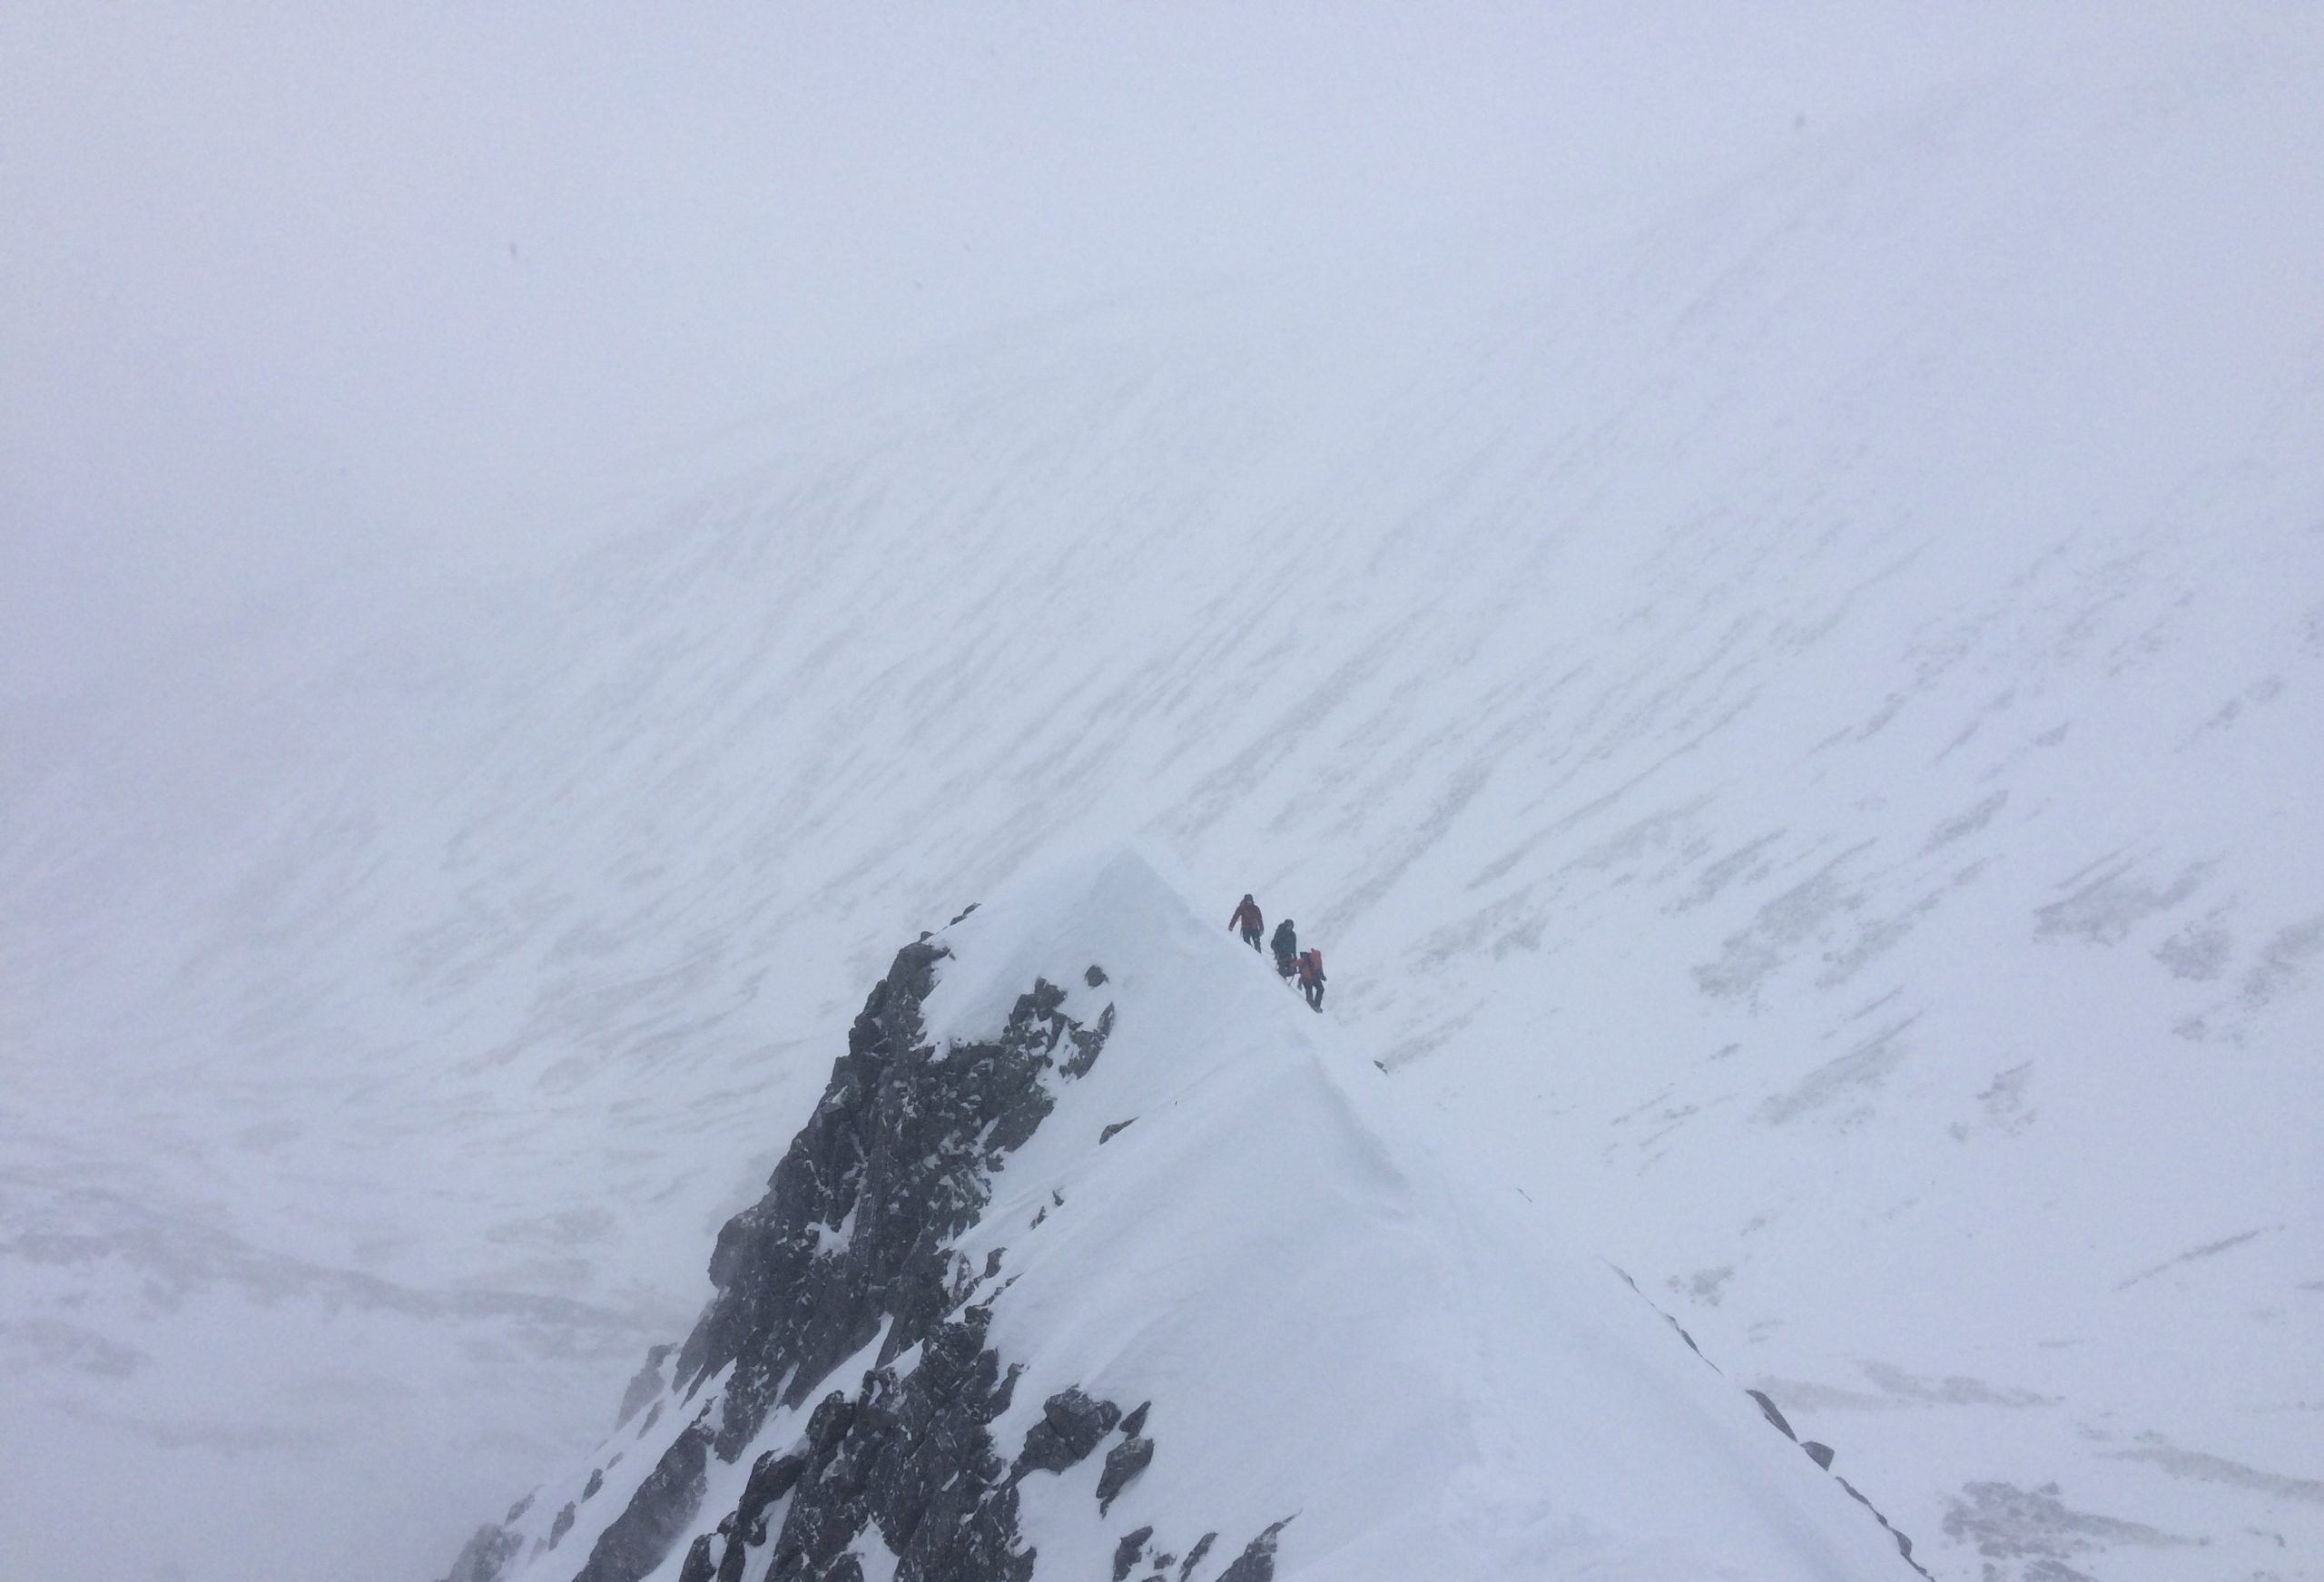
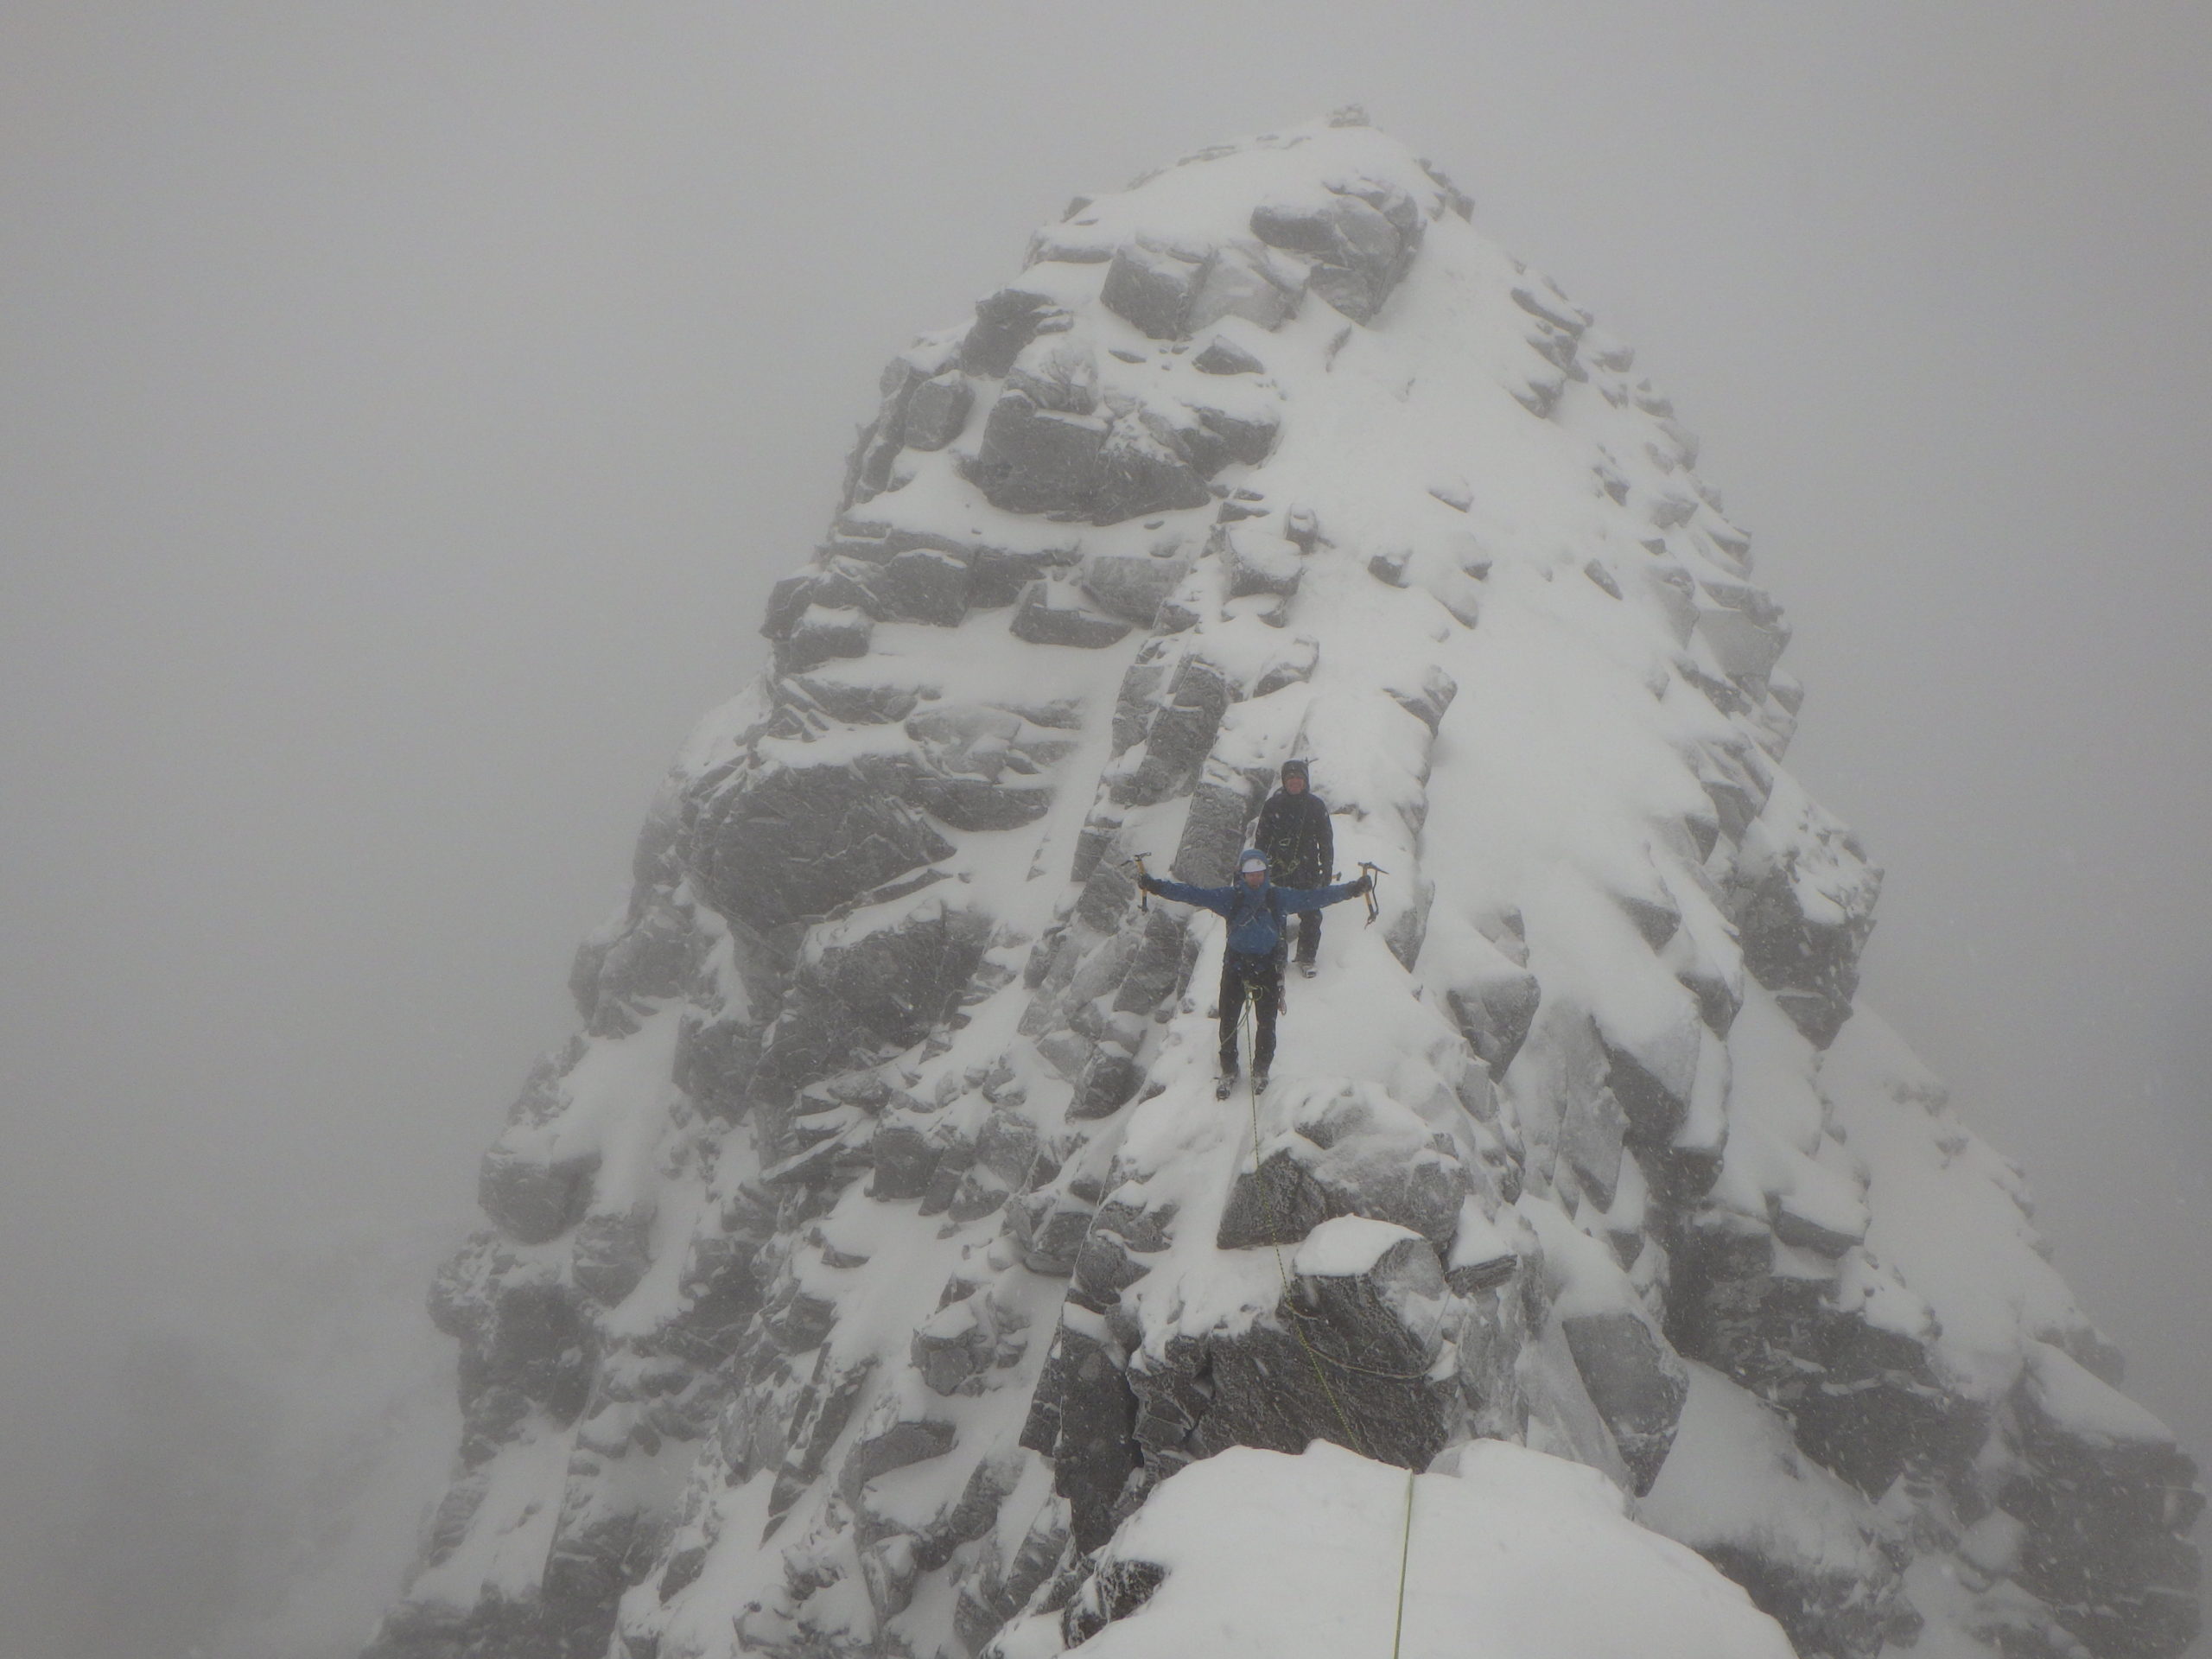
Once atop the Great Tower, follow the narrow and exposed crest, to the infamous Tower Gap. Not be underestimated, not for its difficulty, but more psychological. As you approach the Gap, you will be looking down significant drops either side. Glover’s Chimney down one side, and Tower Gully down the other. The axe placements and footholds are all there, it is just a case of trusting them as you lower yourself into the abyss. From here it is a cheeky step across, and you’ll find some good axe placements.
It is possible to continue after the Eastern traverse, to the Tower Gap and miss out the crux up to the Great Tower. Also helpful if you are late, and cuts out the tricky climbing. Left from the chimney after the Eastern traverse, follow the very exposed snow field traversing to Tower Gully into Tower Gap. Only to be traversed if snow conditions are good. If there is a possibility of avalanche, avoid this area.
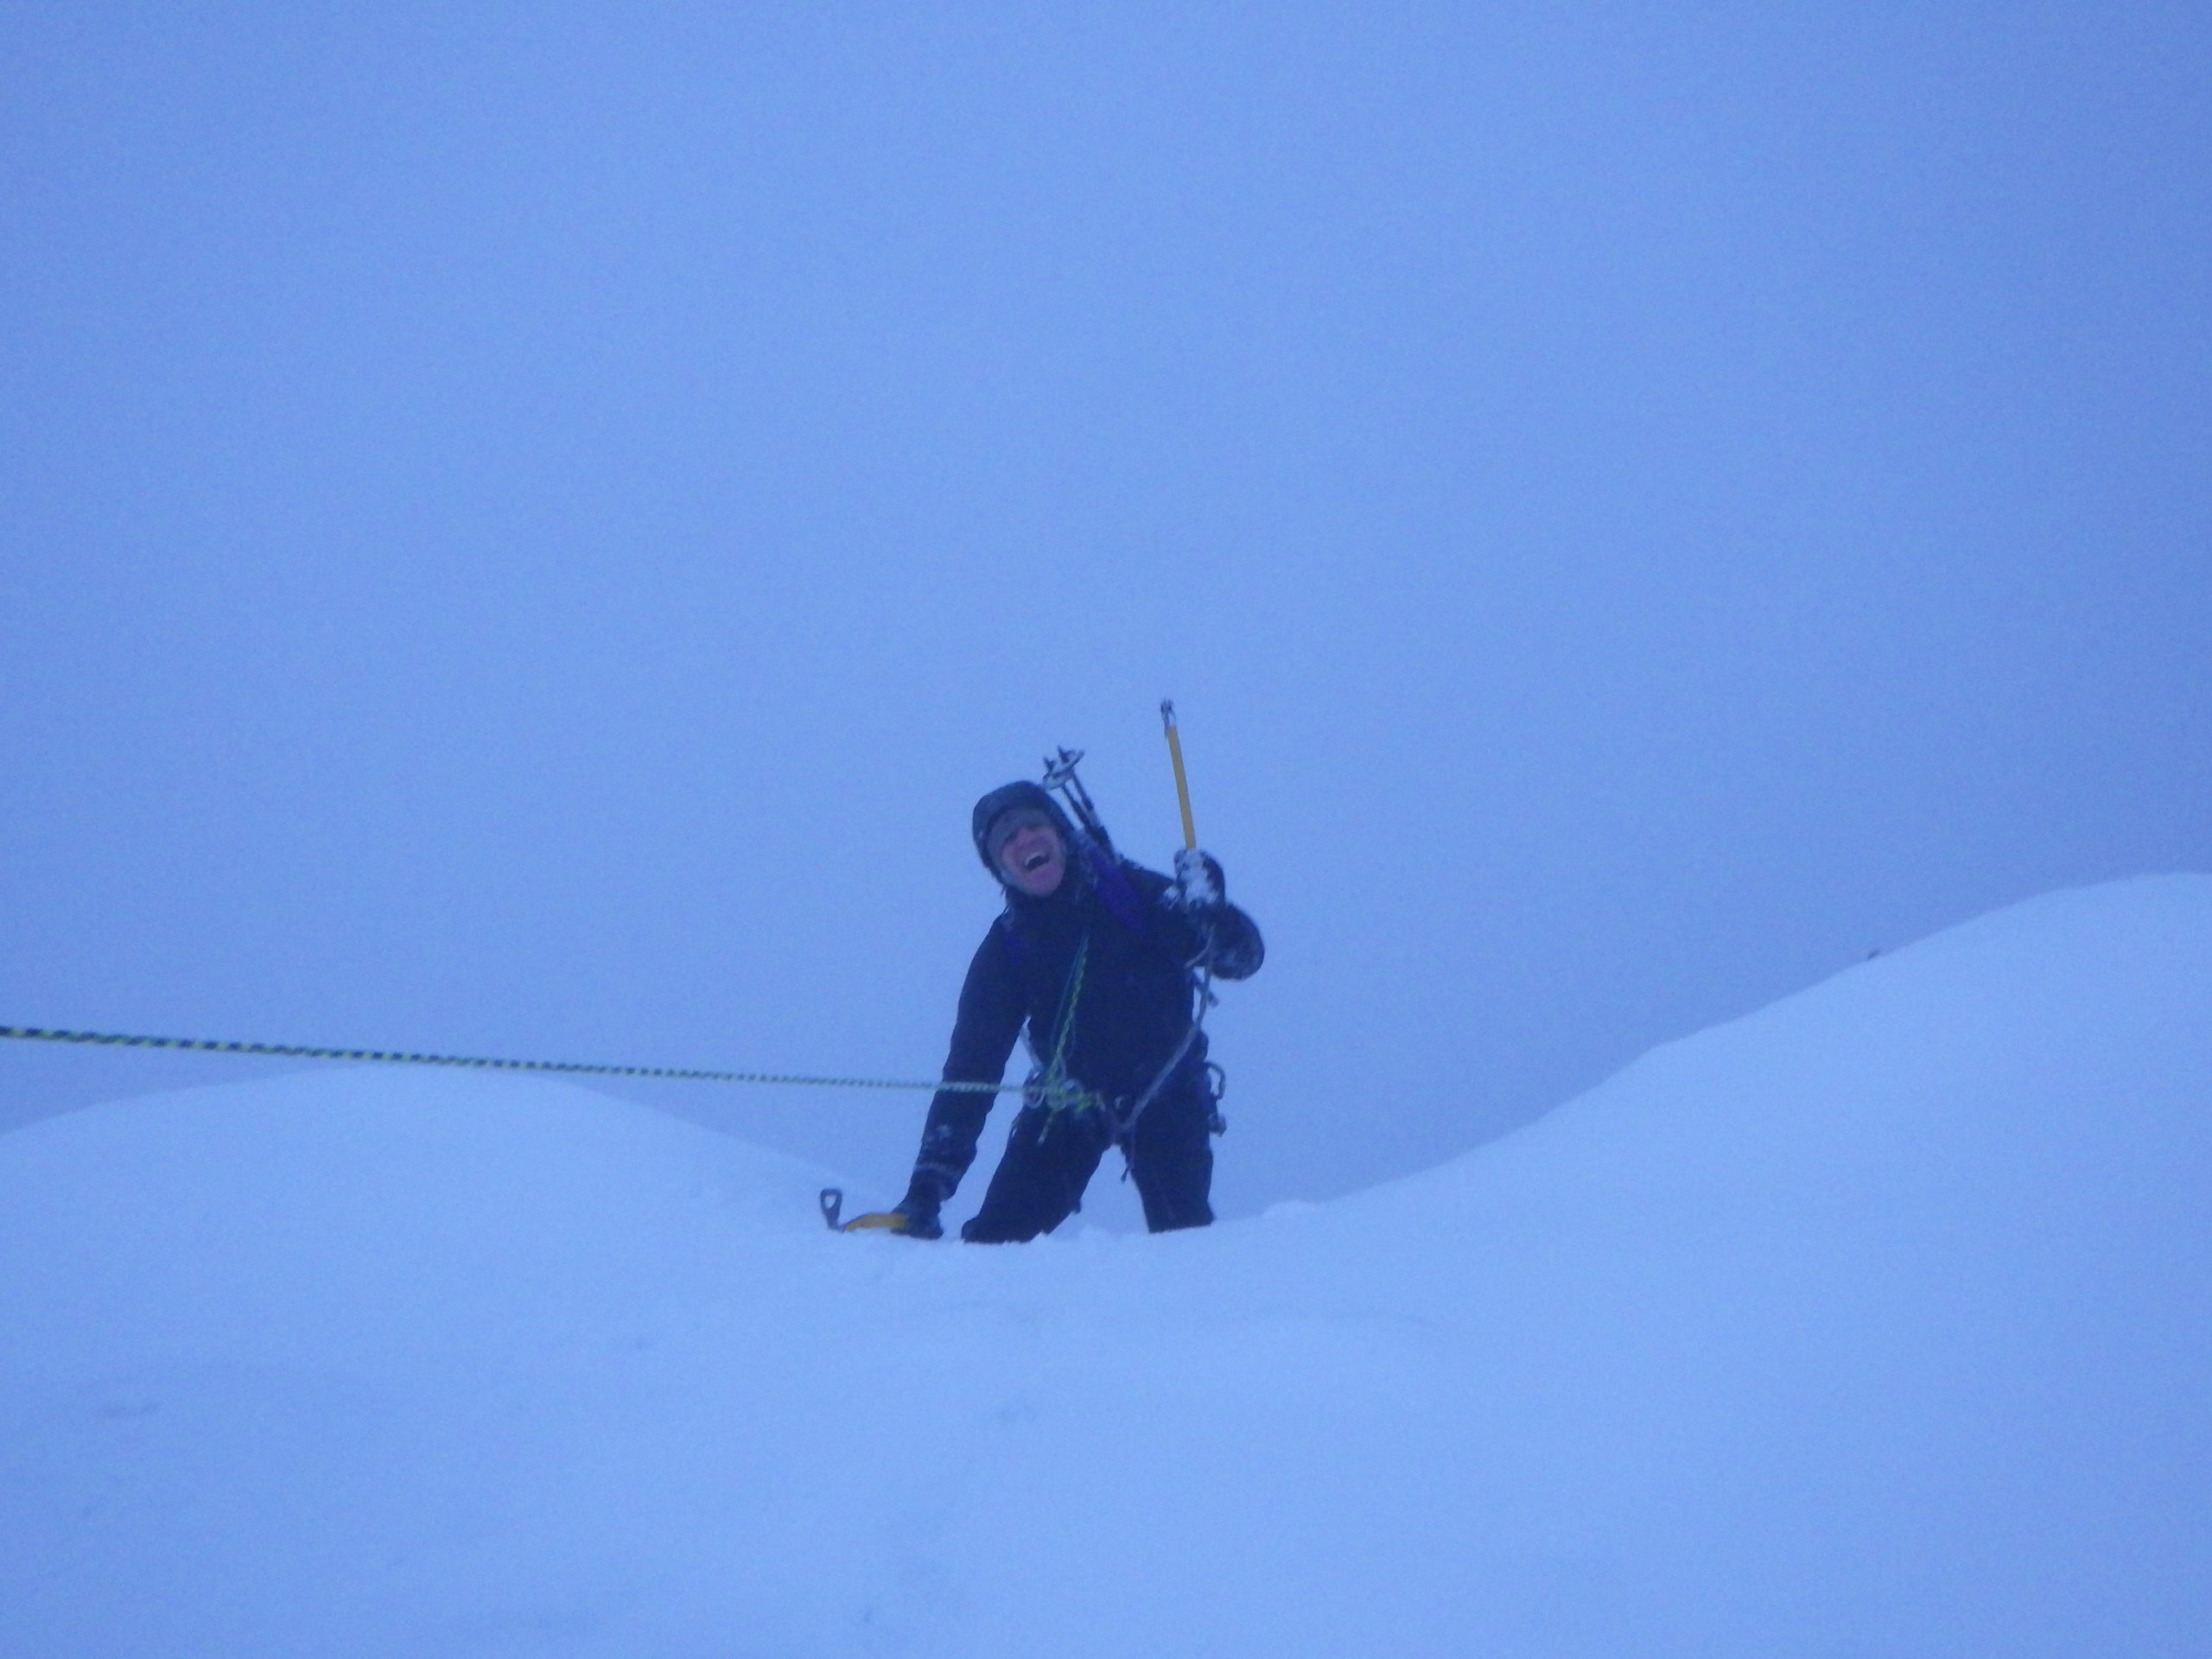
Once out of The Gap, the main difficulties are over. Ascend a small positively inclining corner, then an easy snow slope to just below a rocky wall. Pass it along a narrow ledge, to its right, then to a hero finish onto the plateau.
Getting to the top of Ben Nevis is only half the battle. From here you still have a 5-mile walk back to the car. You have several options. Firstly the easiest, but sometimes the longer route is down the tourist path. Hard to miss, and zig zags its way down the mountain, and can be hard on the knees. Another option would be the Red Burn mountain track, which takes a more direct descent down the Ben. Although keep in mind that this area can be prone to avalanche in the right conditions.
You can also choose to descend down No. 4 Gully, again only in the right conditions. The Gully can be tricky to find in low visibility, so walking on a bearing and pacing really helps here. There is a helpful trig point here at the top of No. 4 Gully, as long as it is not buried. Give the Gully a wide birth in case of overhanging cornices. Great descend for a fit team, but if the legs and the mind are really tired, choose one of the other options. All it takes is one mis-step.
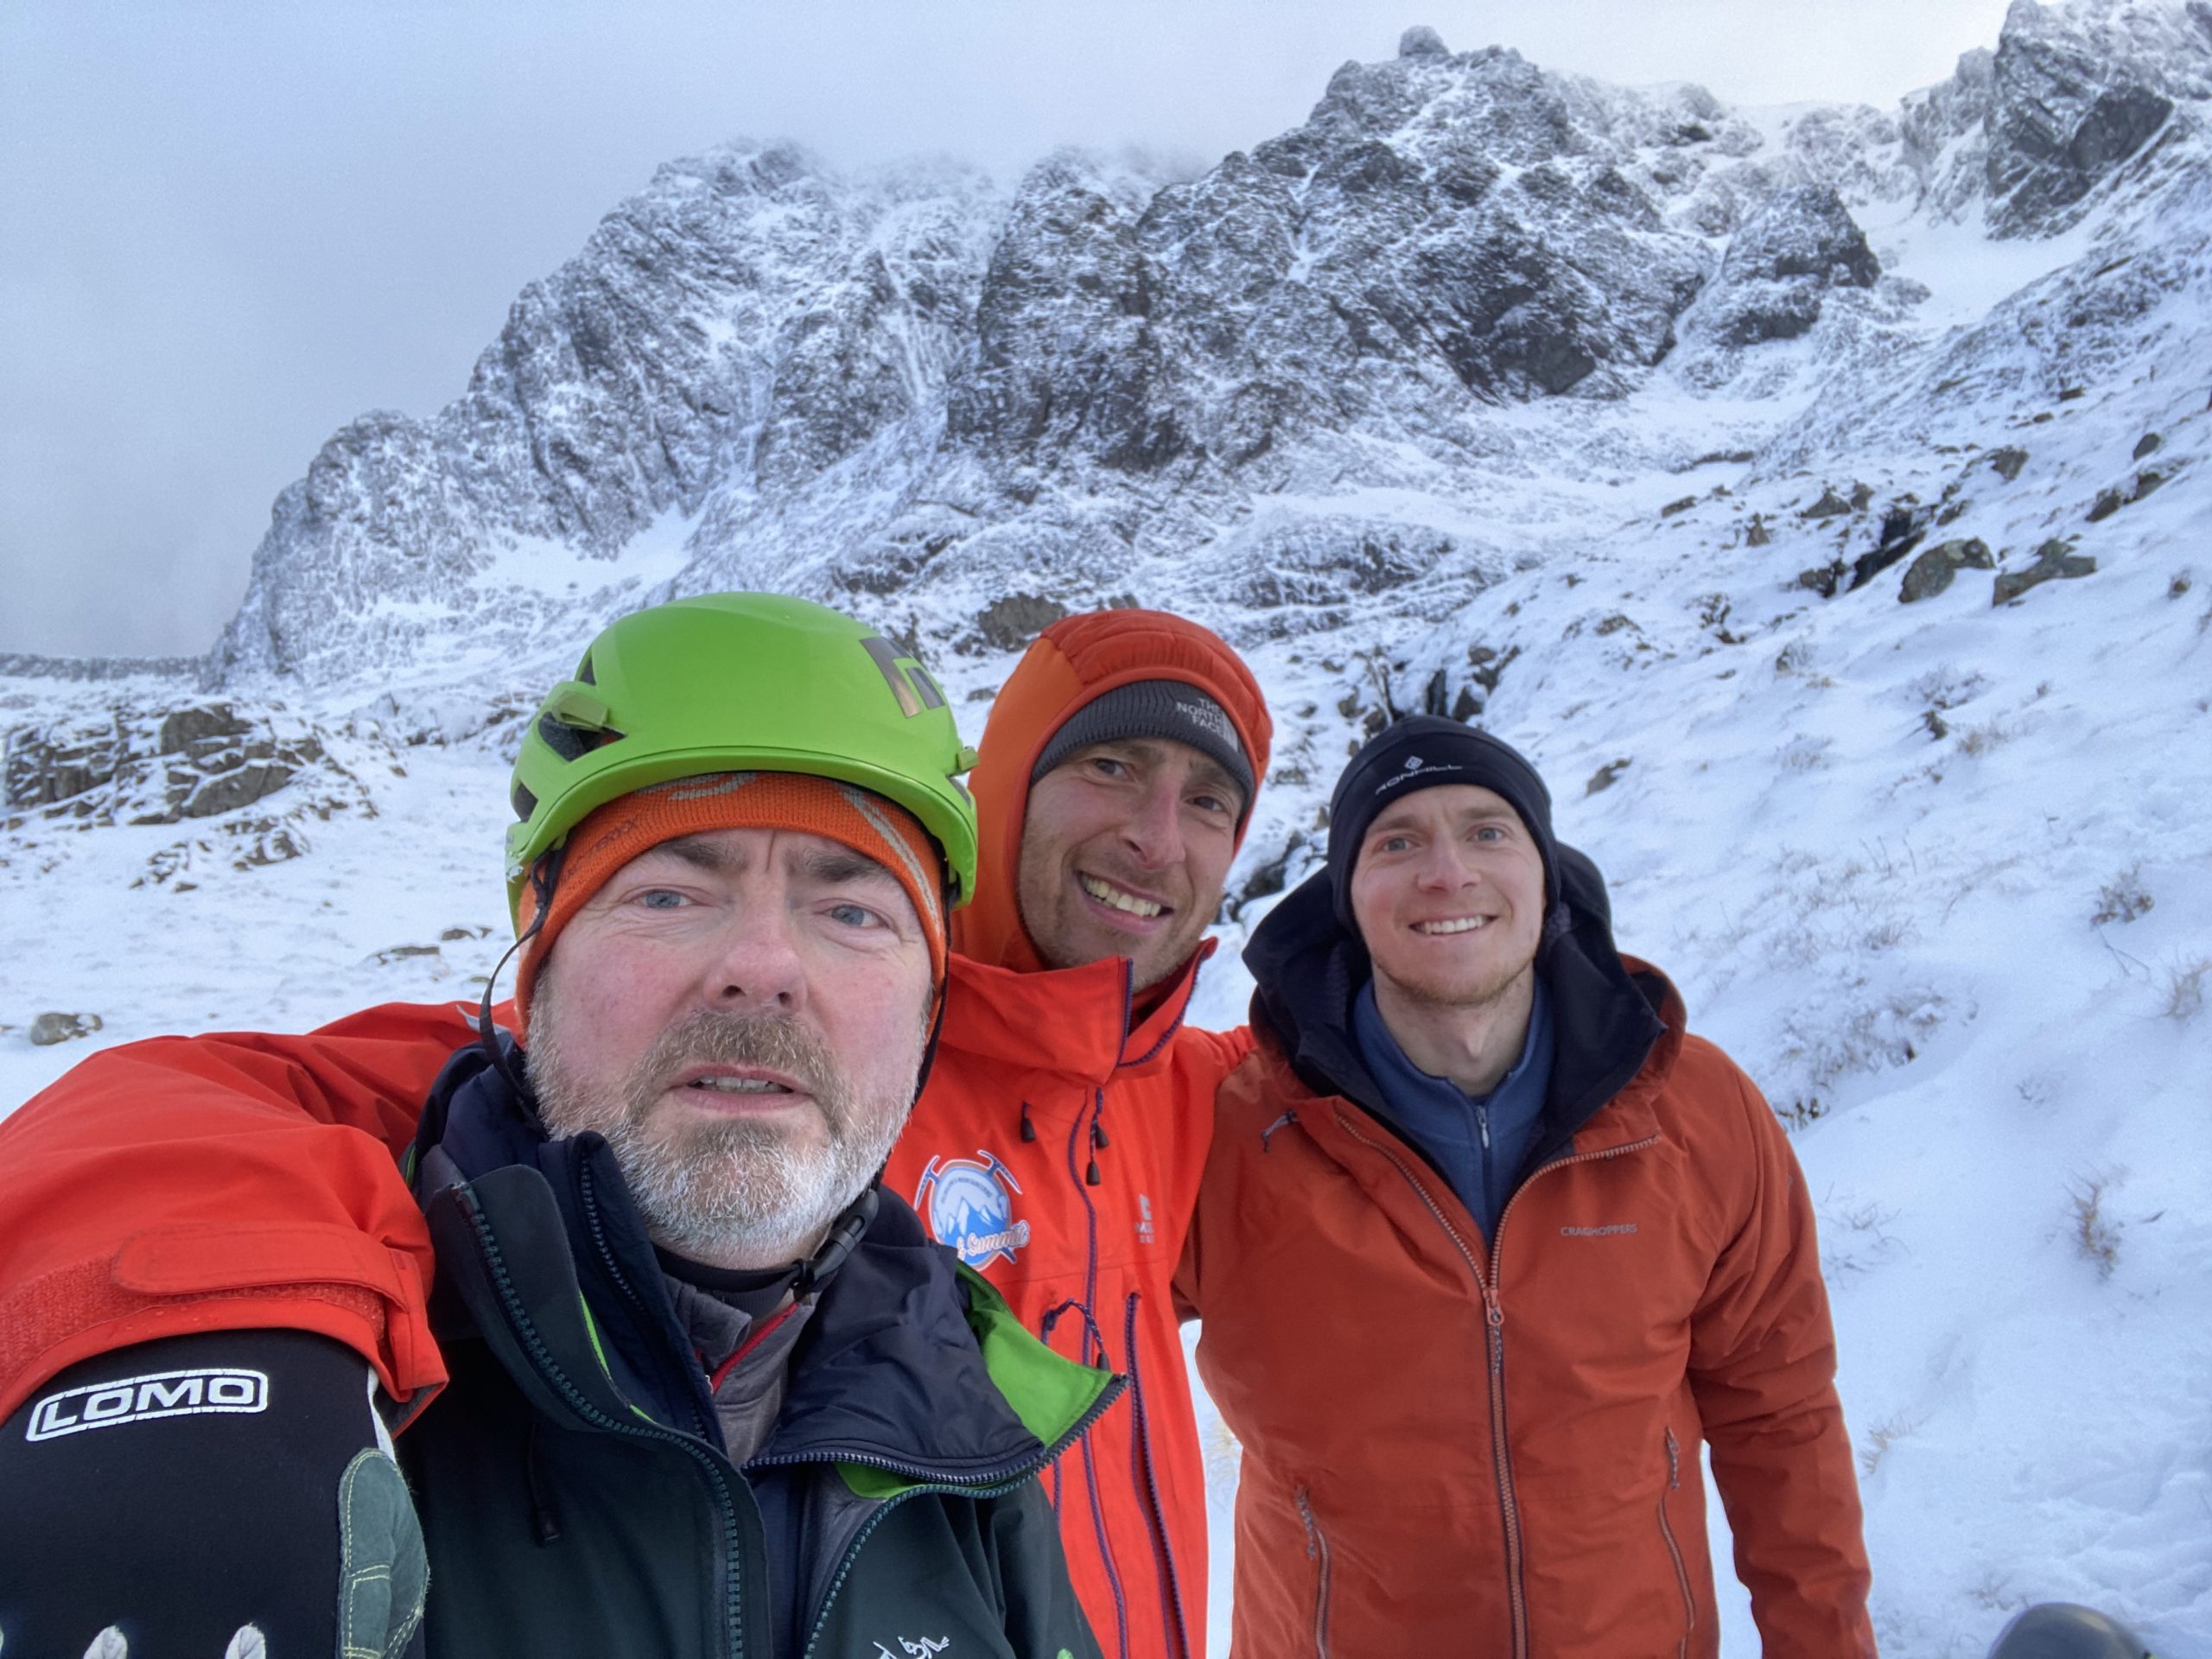
Note: this blog “How to Climb Tower Ridge in winter” is here to help you provide some information on the ridge. We can’t climb it for you. Although, if you are interested, we run a course with the aim of climbing Tower Ridge: